
Nail Art Tips: Essential Tricks for Beautiful and Creative Designs
19 Sep, 2024Creating stunning nail art doesn’t have to be complicated. With the right nail art tips, you can elevate your manicure game and express your creativity through fun and intricate designs. Whether you’re a beginner or a pro, these tips will help you master the art of nail decoration and keep your nails looking flawless.
1. Start with a Clean Canvas
One of the most important nail art tips is to always start with clean, well-prepped nails. Here’s how to properly prepare your nails for long-lasting designs:
- Clean and Trim: Make sure your nails are trimmed, shaped, and free of oils or residue. Use a gentle nail polish remover to clean the surface.
- Base Coat: Apply a good base coat to protect your natural nails and create a smooth surface for your nail art. A base coat helps the polish adhere better and prevents staining.
By prepping your nails correctly, you’ll ensure that your nail art lasts longer and looks more professional.
2. Use the Right Tools
Investing in the right tools is key to achieving precise and intricate designs. Here are a few must-have tools to elevate your nail art:
- Dotting Tools: Great for creating polka dots, flowers, or other round designs.
- Thin Nail Art Brushes: These brushes help with drawing fine lines, patterns, and details.
- Striping Tape: Ideal for clean, straight lines and geometric designs.
Using these tools will make your designs look more polished and allow for greater precision.
3. Choose Quality Nail Polish
Another crucial nail art tip is to always choose high-quality nail polishes. Poor-quality polish can lead to streaks, clumps, and shorter-lasting designs. Look for:
- Fast-Drying Polish: This reduces smudging and makes it easier to layer colors.
- Long-Lasting Formula: Opt for polishes that are known for their durability to ensure your nail art lasts longer.
Quality products can make a significant difference in the outcome of your nail art, giving you smoother and more vibrant results.
4. Practice with Simple Designs
If you’re new to nail art, start by practicing simple designs. Polka dots, stripes, and accent nails are all easy but effective ways to add personality to your nails without needing advanced skills. Some beginner-friendly nail art tips include:
- Accent Nails: Paint one or two nails in a different color or design for an easy yet striking look.
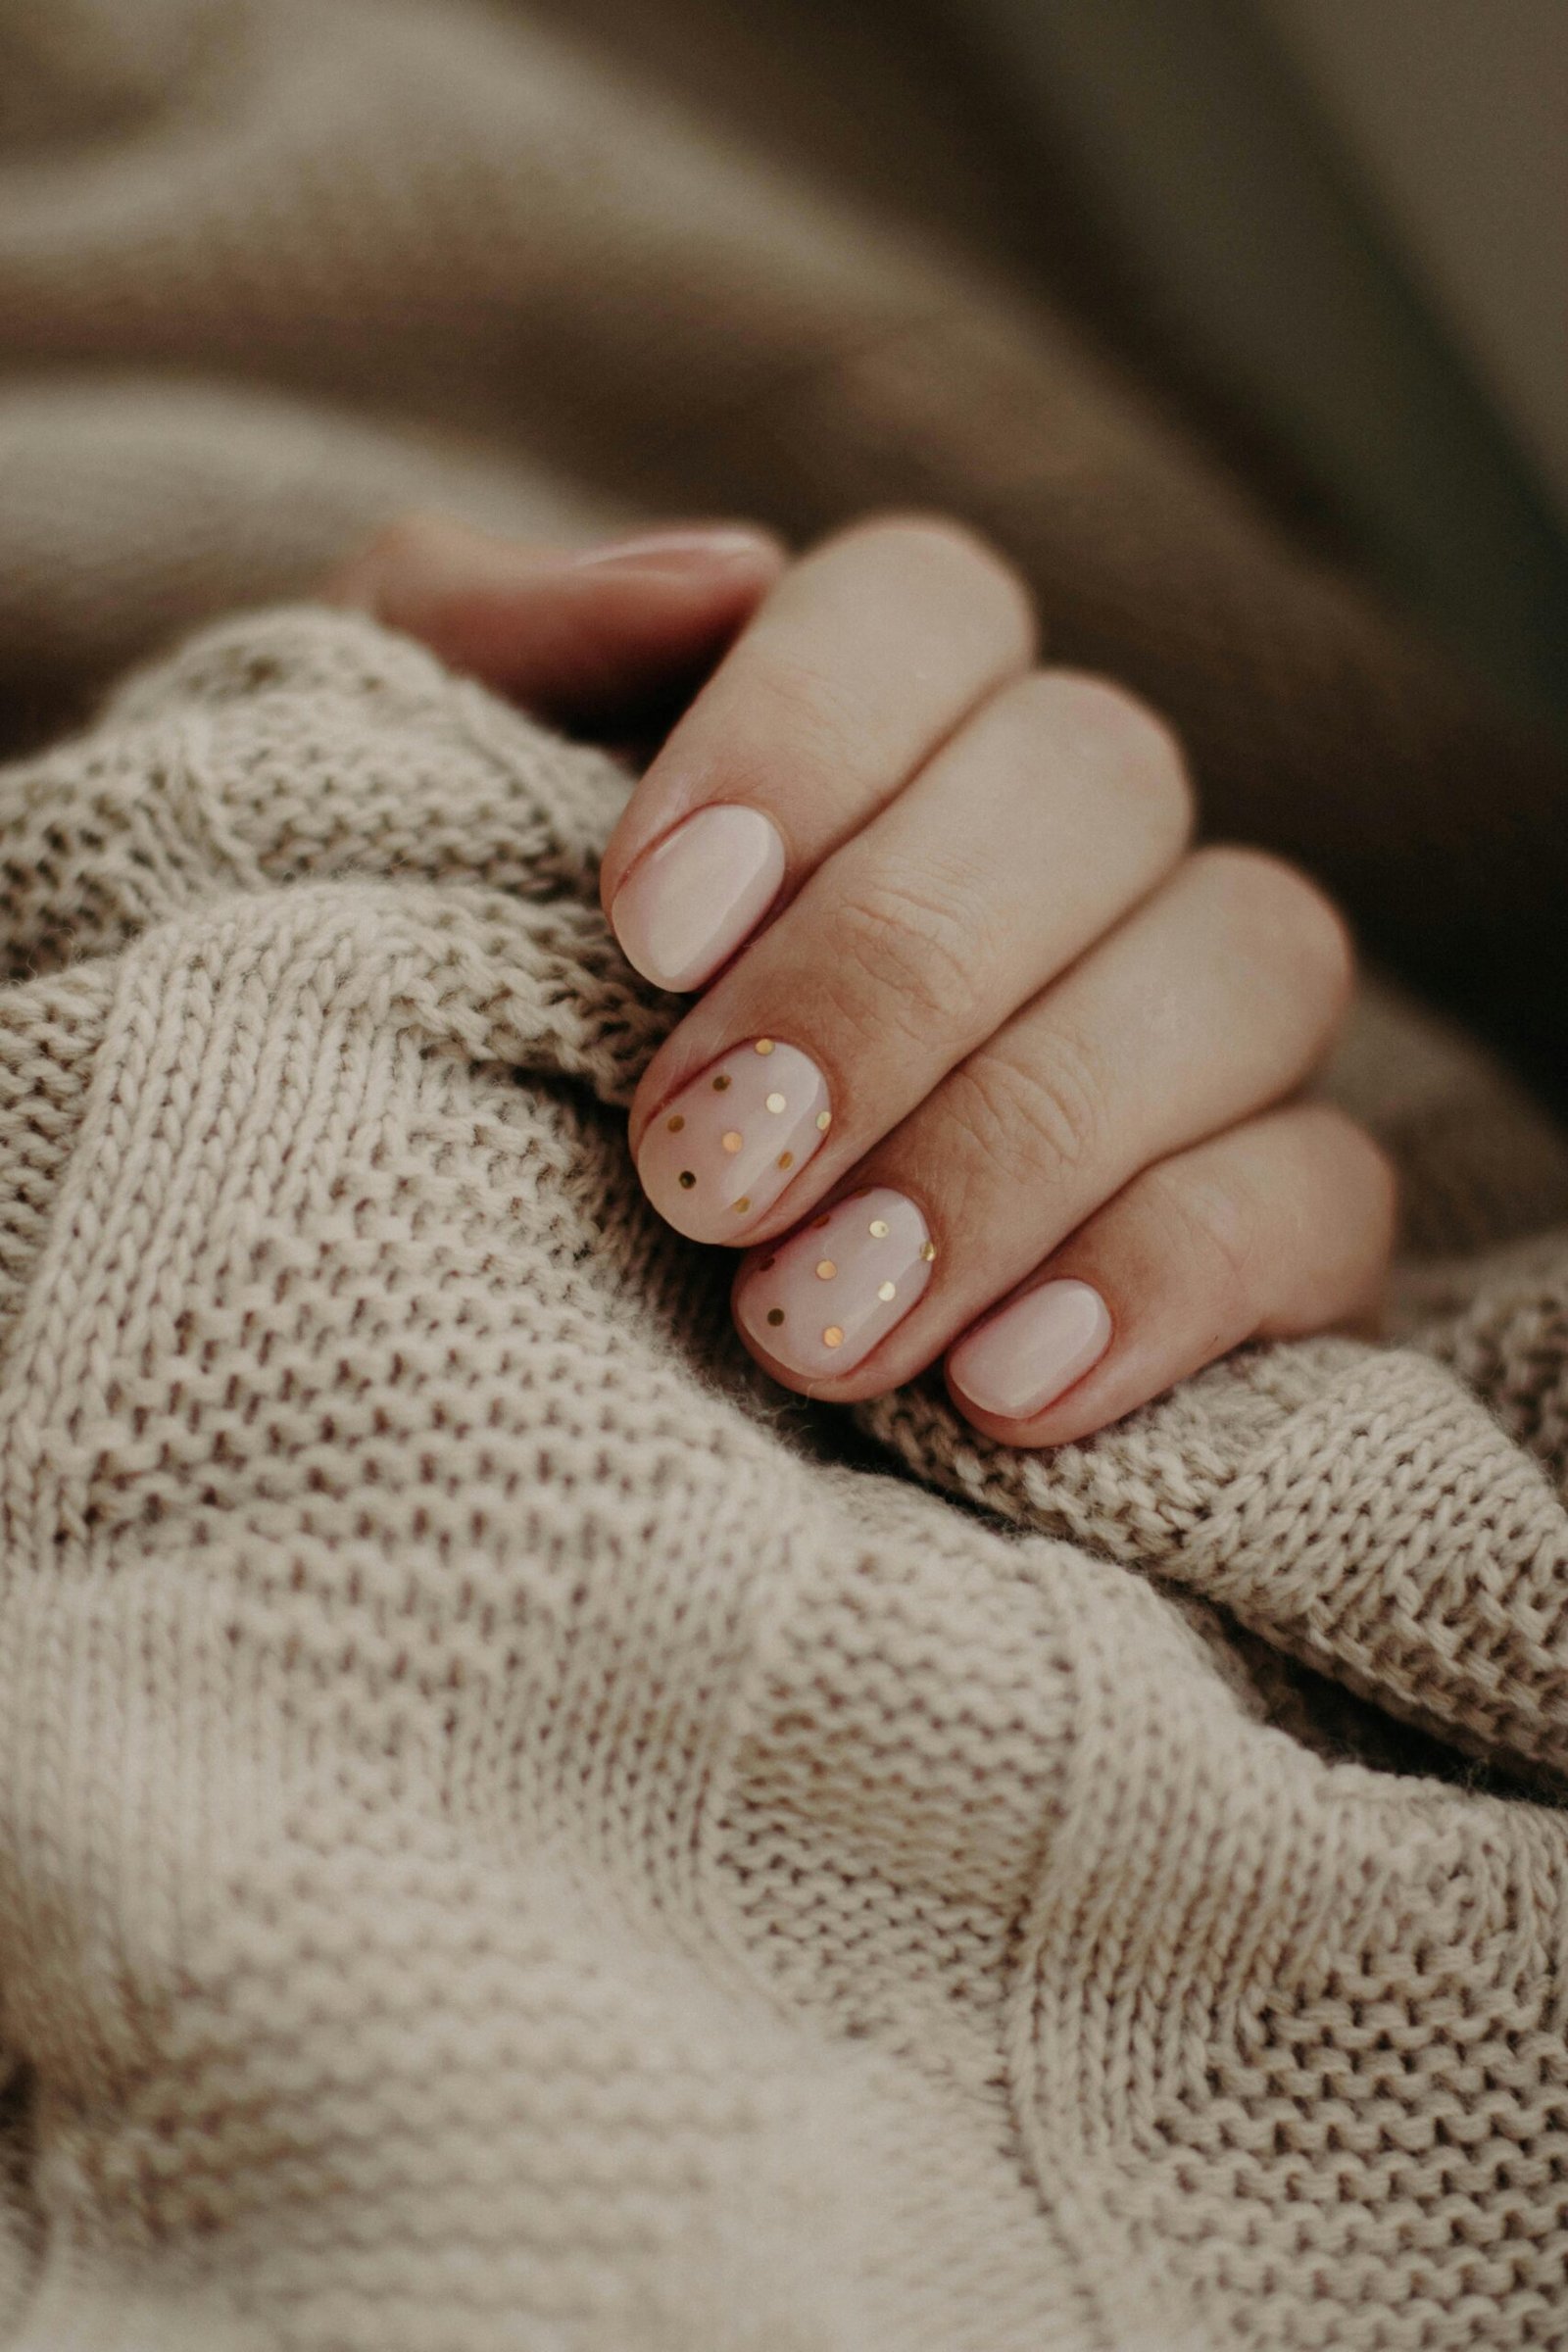
- Polka Dots: Use a dotting tool or even the end of a bobby pin to create dots.
- Stripes: Apply striping tape for straight lines or freehand them with a thin brush.
These easy designs will help build your confidence and improve your skills over time.
5. Experiment with Colors
One of the most fun nail art tips is to play around with color combinations. Mixing bold shades or soft pastels can transform a simple design into something unique. Consider:
- Complementary Colors: Use colors that contrast each other, like black and white or pink and blue, for bold and eye-catching looks.
- Monochrome: Stick with different shades of one color for a chic, subtle design.
- Seasonal Colors: Opt for colors that match the season—think pastels for spring, bright neons for summer, or deep reds and golds for fall and winter.
Experimenting with color combinations can make even the simplest designs stand out.
6. Use Stencils and Stickers
If freehand designs feel too advanced, you can still create detailed nail art with the help of stencils and stickers. Here’s how to make the most of them:
- Stencils: Place stencils over your nail, paint over them, and remove to reveal a clean design underneath.
- Stickers: Nail stickers or decals come in various designs and can be applied over polish to create an intricate look with minimal effort.
These shortcuts are great for achieving salon-quality results without needing advanced techniques.
7. Top It Off with a Top Coat
After you’ve finished your design, always seal it with a high-quality top coat. This final step is essential to keep your nail art looking fresh and chip-free. Here’s why a top coat is a must:
- Protection: A top coat protects your design from chipping and fading.
- Shine: It adds a glossy finish, making your nail art look even more professional.
- Longevity: The top coat helps extend the life of your manicure, ensuring your art stays intact longer.
Reapply the top coat every few days to maintain the shine and durability of your nail art.
8. Fix Mistakes with a Cleanup Brush
Even professionals make mistakes! One of the most useful nail art tips is to have a cleanup brush on hand. Dip a small brush in nail polish remover and gently clean up any smudges or stray polish around the edges of your nails.
- Precise Cleanup: The small brush allows for detailed cleaning without ruining your design.
- Perfect Edges: This trick gives your manicure a neat, salon-quality finish.
Being able to clean up mistakes quickly and easily will give you more confidence as you experiment with new designs.
Mastering these nail art tips will help you create stunning designs that look like they were done by a pro. From using the right tools to experimenting with colors and stencils, these tricks make it easy to achieve flawless results. Whether you’re aiming for something simple or more intricate, following these tips will ensure your nail art is always on point.